
Mastering Cameraman Tower Defense Maps: Top Strategies for Every Stage
Level up your gameplay with our expert guide to Cameraman Tower Defense maps, featuring essential unit placement, map-specific tips, and winning strategies.
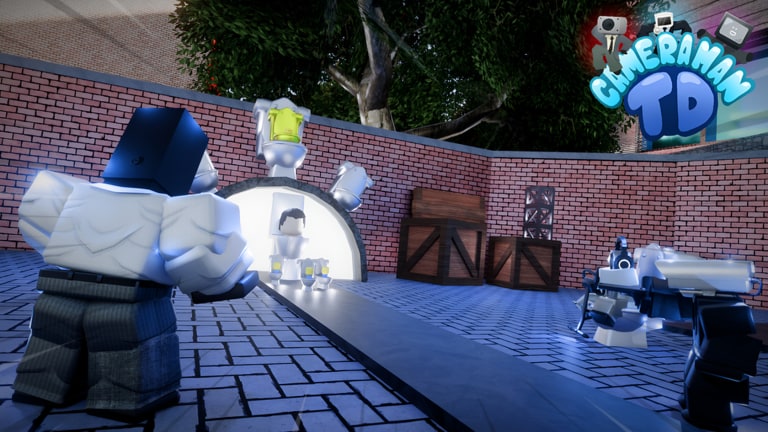 Cameraman TD WikiOpen the official Roblox game pageRoblox
 Dominating the battlefield requires more than just high-level units; you must understand the intricacies of different Cameraman Tower Defense maps to survive the relentless waves. Whether you are a newcomer or a veteran, mastering these Cameraman Tower Defense maps is the single most effective way to optimize your gold spending and unit efficiency.
Understanding the Landscape: Why Map Knowledge Matters
In tower defense games, the environment is your greatest ally or your worst enemy. Each map in this series presents unique pathing, choke points, and surface areas that dictate how your defenses perform. Understanding the layout of specific Cameraman Tower Defense maps allows you to position your units for maximum coverage, ensuring no enemy slips through your lines.
Key Factors for Map Success
- Choke Points: Narrow corridors where enemies are forced to bunch up, making them perfect targets for splash damage.
- High Ground: Strategic elevation that increases unit range and line-of-sight.
- Path Length: Longer paths give your towers more time to chip away at enemy health before they reach your base.
Essential Unit Placement Strategies
Placement is not just about where you put your units, but how they interact with the map’s geometry. Many players overlook the importance of the Engineer Cameraman, a unit that has recently seen balance adjustments, making it a staple for holding lanes.
| Unit Type | Primary Role | Best Map Feature |
|---|---|---|
| Engineer | Support/Buff | Flat, open ground |
| Sniper | Long-range DPS | Elevated platforms |
| Splash Damage | Crowd Control | Tight corners/chokes |
| Economy | Resource Gen | Safe, rear-base areas |
According to community reports, players who prioritize upgrading their economy units in the early game on longer maps often find themselves with a significant gold advantage by wave 20. Always analyze the map layout before spending your first coin.
Analyzing Map Difficulty and Reward Tiers
Not all maps are created equal. Some offer shorter paths with higher enemy density, while others provide expansive layouts that require a more mobile defense strategy. Use the table below to determine which maps provide the best experience for your current progression level.
| Map Name | Difficulty | Recommended Strategy |
|---|---|---|
| Wasteland Outpost | Easy | Focus on splash damage |
| Highway Siege | Medium | Spread out your snipers |
| City Center | Hard | Prioritize early game economy |
| Desert Ruins | Expert | Use high-range units to cover intersections |
Tactical Tips for Advanced Players
When playing on harder maps, you cannot rely on a single defensive setup. You must adapt. If you find your units are struggling, consider rotating your active towers to better suit the specific waves of enemies appearing.
- The "Buffer" Technique: Place support units like the Engineer Cameraman near your heavy hitters to maximize their output.
- Intersection Control: Always place your highest damage-per-second (DPS) units at intersections where multiple paths converge.
- Cooldown Management: Don't waste your ultimate abilities on early, weak waves; save them for boss encounters.
Community reports suggest that even if a unit receives a buff, its effectiveness is ultimately capped by its placement on the map. Never place a high-range unit in a corner where its field of vision is obscured by buildings or terrain.
Optimizing Your Loadout for Different Maps
Your loadout should be as fluid as the maps themselves. If you are heading into a map with narrow corridors, trade your long-range units for high-fire-rate, close-quarters units.
Recommended Loadout Variations
| Map Type | Primary Focus | Secondary Focus |
|---|---|---|
| Open Field | Long Range | Crowd Control |
| Urban/Tight | Splash Damage | Buffing/Support |
| Boss Heavy | Single Target DPS | Slowing Effects |
By keeping your loadout versatile, you ensure that you are never caught off-guard by the specific requirements of the map. If you are struggling to clear a stage, revisit your unit composition rather than just trying to level up your existing units.
The Importance of Economy Management
Many players fall into the trap of over-investing in defense too early. On many Cameraman Tower Defense maps, the key to victory is a "greed" phase where you focus entirely on income units during the first five waves.
- Early Game: Build minimal defense to survive; focus on economy.
- Mid Game: Transition into mid-tier towers that provide consistent value.
- Late Game: Sell low-tier towers to make room for high-cost, high-impact units.
Frequently Asked Questions
Which Cameraman Tower Defense maps are best for farming gold? Generally, maps with longer, winding paths allow for more controlled waves, which makes them ideal for farming resources safely.
Does the Engineer Cameraman work well on every map? While the Engineer is a powerful support unit, its effectiveness depends on the map's terrain. It performs best on maps with wide, flat areas where its buffs can reach multiple towers simultaneously.
How can I improve my placement on difficult maps? Focus on identifying "dead zones"—areas where your towers provide zero value—and reposition them to cover intersections or choke points.
Where can I find updates on map balance changes? For the most accurate and up-to-date information, check the official developer announcements or the official game community hub for patch notes and community discussions regarding map adjustments.
Related Guides
Mastering Cameraman Tower Defense New Maps: Pro Strategies for Success
Explore expert strategies for dominating Cameraman Tower Defense new maps. Learn unit placement, economy management, and tips to clear every wave.
Mastering Cameraman Tower Defense: How to Beat Hard Mode With One Unit
Learn how to conquer Cameraman Tower Defense hard mode with one unit. Discover the ultimate strategy for the 'Heat' unit and dominate the leaderboard today.