
Mastering Cameraman Tower Defense: How to Beat Hard Mode With One Unit
Learn how to conquer Cameraman Tower Defense hard mode with one unit. Discover the ultimate strategy for the 'Heat' unit and dominate the leaderboard today.
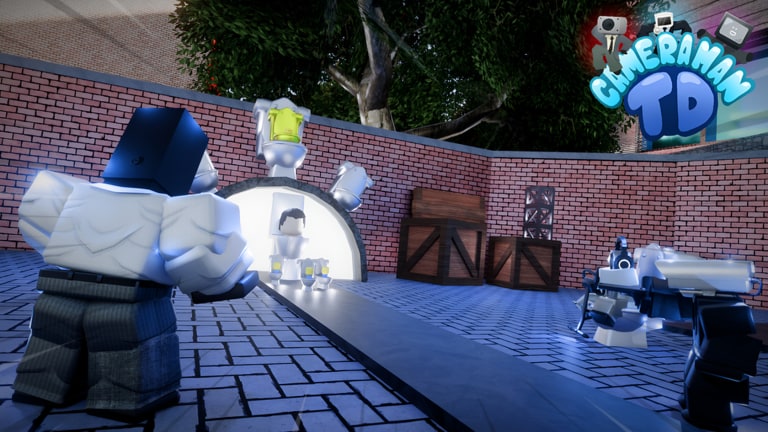 Cameraman TD WikiOpen the official Roblox game pageRoblox
 The thrill of a perfect defense is what keeps tower defense enthusiasts coming back to the genre, and nothing tests your skill quite like the constraints of a self-imposed challenge. Successfully navigating Cameraman Tower Defense hard mode with one unit is widely considered the ultimate test of tactical placement and economic efficiency. By focusing your resources solely on a single, high-performing tower, you can streamline your strategy and prove your mastery of the game mechanics.
In this guide, we will break down how to effectively utilize the "Heat" unit to crush the toughest waves. Whether you are a veteran looking to spice up your gameplay or a newer player curious about advanced tactics, learning how to beat Cameraman Tower Defense hard mode with one unit will fundamentally change how you view map control and wave management.
Understanding the Hard Mode Challenge
Hard mode in tower defense games is rarely just about increasing enemy health pools; it is about forcing the player to make difficult decisions under pressure. When you limit yourself to a single unit type, you lose the ability to rely on diverse damage profiles—such as combining crowd control with raw DPS. Instead, you must maximize the potential of your chosen unit by exploiting pathing, range, and upgrade timing.
According to community reports, players attempting this "one unit" challenge often find that the biggest hurdle is the early game, where economy and damage output are at their most fragile. The "Heat" unit, often cited in player experience discussions, offers a unique balance of damage-per-second (DPS) and area-of-effect (AoE) capabilities that make it a standout choice for this specific restriction.
Hard Mode vs. Normal Mode: Key Differences
To succeed, you must understand the environment you are operating in. The following table highlights the critical differences you will encounter when transitioning from Normal to Hard mode.
| Feature | Normal Mode | Hard Mode | Strategic Implication |
|---|---|---|---|
| Enemy Health | Baseline | 150% - 200% | Requires higher sustained DPS |
| Enemy Speed | Standard | +25% Speed | Tightens placement requirements |
| Starting Cash | High | Low | Forces efficient upgrade paths |
| Wave Density | Moderate | High | AoE damage becomes mandatory |
The "Heat" Unit Strategy: Why It Works
The "Heat" unit has gained popularity among the community for a simple reason: versatility. When attempting to beat Cameraman Tower Defense hard mode with one unit, you cannot afford to have a tower that only targets single enemies or lacks the range to cover critical junctions.
The Heat unit provides a consistent damage output that scales exceptionally well as you pump gold into its upgrades. In a one-unit run, your economy is entirely dedicated to this specific tower. You aren't splitting your budget between support units, slows, or secondary damage dealers. This allows you to reach the maximum upgrade tier much faster than a standard playstyle would permit.
Analyzing the Heat Unit Performance
| Upgrade Tier | Primary Benefit | Best Usage Scenario |
|---|---|---|
| Level 1 | Initial Range | Essential for early wave control |
| Level 2 | Fire Rate Buff | Handles fast, low-health enemies |
| Level 3 | AoE Radius | Necessary for mid-game wave density |
| Level 4 | Damage Multiplier | Crucial for boss wave survival |
| Level 5 | Special Ability | The "game-changer" for end-game |
Strategic Placement and Map Awareness
Placement is the single most important variable when using only one unit type. Because you lack the ability to layer different towers, your placement must be mathematically perfect. You need to maximize the "uptime" of your Heat units, ensuring they are attacking enemies for as long as possible while they travel along the track.
The Choke Point Philosophy
Most maps in Cameraman Tower Defense feature at least one "choke point"—a location where the enemy path loops back on itself or narrows significantly. This is your gold mine. By clustering your Heat units around these chokes, you can create a "kill zone" where your units overlap their range, effectively doubling or tripling your DPS on any target that enters the area.
If you are struggling to maintain your defense, consider these placement tips:
- Corner Loading: Always place your units on the inside of a turn. This maximizes the amount of track covered within the tower's radius.
- Front-Loading vs. Back-Loading: Start by placing units near the front of the track to manage early waves, but transition your economy to build a "death trap" near the exit for the final waves.
- Gap Management: Do not leave gaps between your towers. When you only use one unit, you have no redundancy. If an enemy slips past one tower, the next one must be perfectly positioned to pick up the slack.
Managing Your Economy in Hard Mode
Economy is the silent killer in hard mode. If you are too conservative with your upgrades, you will be overwhelmed by sheer enemy numbers. If you are too aggressive, you might run out of cash during a mid-wave spike, leaving you unable to afford the critical upgrades needed to stop high-health enemies.
When playing with one unit, your upgrade path is your lifeline. You should aim to have at least one max-level Heat unit by the time the mid-game boss waves arrive.
Upgrade Priority Checklist
- Early Game (Waves 1-10): Focus on placing a base number of units to cover the entrance. Do not over-upgrade yet; prioritize quantity over quality to ensure no leaks.
- Mid Game (Waves 11-25): Begin funneling cash into your most strategically placed units. Focus on range and AoE upgrades first.
- Late Game (Wave 26+): Sell off less strategically placed units to fund the final tier upgrades for your core "kill zone" towers.
Troubleshooting Your Defense
Even with the best strategy, you might find yourself leaking enemies. This is a common part of the learning process. If you find your "one unit" setup failing, look at where the leak is happening.
- Leak at the Start: You likely need more base units or a faster fire-rate upgrade early on.
- Leak in the Middle: Your AoE radius is likely too small, or your towers are placed too far apart.
- Leak at the End: You are lacking the raw damage-per-second required to take down high-health boss enemies.
If you are interested in official game updates or looking for more community-driven guides, check out the official Roblox page for the latest patch notes, as game balance changes can often affect unit effectiveness.
The Psychology of the One-Unit Run
Why do players insist on attempting to beat Cameraman Tower Defense hard mode with one unit? It is about more than just the challenge; it is about optimization. When you strip away the complexity of managing ten different tower types, you are left with the pure mechanics of the game. You learn the exact timing of waves, the precise health values of every enemy, and the perfect placement for every turn.
This deep understanding makes you a better player overall. Once you master a one-unit run, standard gameplay feels significantly easier because you have already learned how to stretch your resources to their absolute limit.
Common Pitfalls to Avoid
- Panic Selling: Don't sell your towers mid-wave unless you are absolutely certain you can replace them with something stronger.
- Ignoring the Pathing: Enemies often have different speeds. Watch the lead enemy, not the group.
- Over-Reliance on RNG: While some games have RNG elements, your strategy should rely on consistent DPS, not "lucky" critical hits.
FAQ: Mastering the Challenge
Q: Is it actually possible to beat hard mode with only one unit type? A: Yes. Many players have successfully completed hard mode using only the "Heat" unit by focusing on optimal placement and upgrade timing. It requires practice and a solid understanding of the map layout.
Q: What is the most important upgrade for the Heat unit? A: While all upgrades are useful, the AoE (Area of Effect) upgrade is generally considered the most critical for hard mode. It allows you to manage the high-density waves that are characteristic of the harder difficulty settings.
Q: Should I sell my towers to upgrade others? A: In the late game, yes. If you have low-level towers in inefficient spots, selling them to fund a max-level upgrade for a tower in a "kill zone" is a standard strategy for those trying to beat Cameraman Tower Defense hard mode with one unit.
Q: Does map choice matter for this challenge? A: Absolutely. Some maps have longer tracks or more choke points, making them significantly easier for one-unit runs. Start with simpler maps before attempting the challenge on more complex, open-field maps.
Related Guides
Mastering Cameraman Tower Defense Maps: Top Strategies for Every Stage
Level up your gameplay with our expert guide to Cameraman Tower Defense maps, featuring essential unit placement, map-specific tips, and winning strategies.
Mastering Cameraman Tower Defense New Maps: Pro Strategies for Success
Explore expert strategies for dominating Cameraman Tower Defense new maps. Learn unit placement, economy management, and tips to clear every wave.